
Covered outdoor kitchen ventilation needs three parts: a hood to capture smoke, a fan to draw it away, and a duct to release it outside. Plan that path early, and you’ll reduce grease on the patio ceiling and smoke around your guests.
The trouble is that many people choose the BBQ first and think about ventilation last. At Avalon Acres, we see this lead to stained ceiling linings, greasy beams, and dining areas where guests struggle to escape the smoke.
This guide explains why a roof traps BBQ smoke, how to size and mount a vent hood, and where the ducting should run. You’ll also learn how fans, open sides, and ceiling materials affect smoke control, so you can finalise the layout before construction starts.
Why Does a Covered Patio Trap BBQ Smoke So Easily?
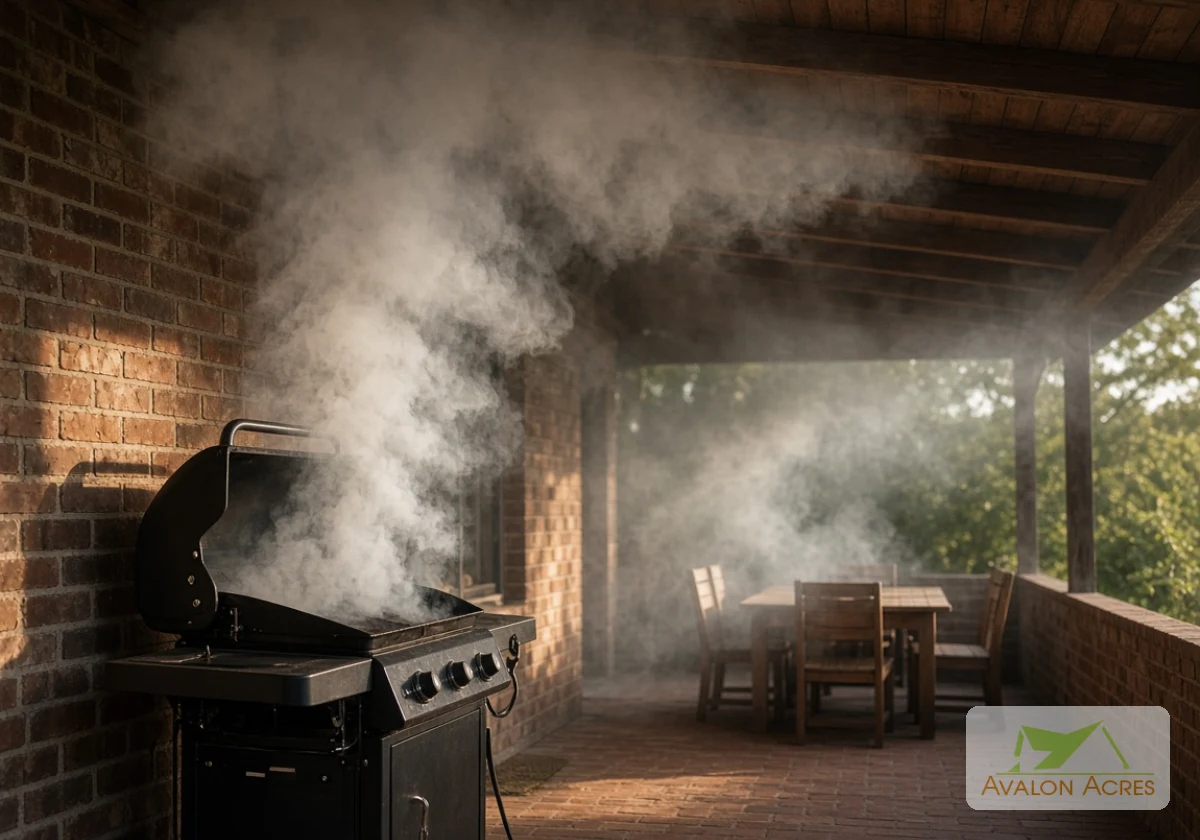
A covered patio traps smoke because hot air rises straight into the roof and has limited room to escape. Grill smoke climbs quickly, hits the lining, then spreads sideways until it finds a gap or cools and drifts down onto the table.
Walls or screens on two or three sides make that sideways spread worse. Each solid side closes off an escape route, so the smoke pools under the ceiling and thickens with every cook (a slow lamb roast is usually the worst offender).
Gas, charcoal and wood-fired grills also produce carbon monoxide, which adds a safety risk to the smoke problem. Energy Safe Victoria’s outdoor gas guidance warns about carbon monoxide poisoning when outdoor gas appliances lack enough ventilation. Since a patio enclosed on most sides starts to behave like an indoor room, you should treat it with the same caution.
Good BBQ ventilation under a patio therefore needs a mechanical way to move smoke out. In our experience planning these spaces, the worst smoke problems turn up under low, flat roofs with the grill pushed against the back wall. A patio like that needs a hood and fan budgeted from day one.
Choosing the Right Hood and Fan for Outdoor Kitchen Ventilation
Low roofs and closed sides make it harder for smoke to escape, so the hood and fan have more work to do. Outdoor range hoods also face wind, salt, and heat, which makes choosing the right model important. That’s why we consider these conditions when designing outdoor kitchens, starting with five checks that affect how well a hood captures smoke.
Let’s get into the details.
How Wide Should the Hood Be Over Your Grill?
Your hood should extend beyond both sides of the grill because smoke spreads outward as it rises. A hood that’s too narrow lets smoke escape around the edges, even when the exhaust fan runs at full power.
Start by measuring the full cooking area, including any side burners. Then check the manufacturer’s recommended overhang and make sure the hood covers the areas where you’ll cook. Don’t overlook the hood’s depth either, as smoke from the front burners can escape if the hood doesn’t reach far enough forward.
Matching Airflow Rating to Grill Heat Output
An airflow rating tells you how much air a fan moves, usually in cubic metres per hour (m³/h). A hotter grill generally produces more heat and cooking fumes, so the hood needs enough extraction capacity to handle both.
But the fan’s rating isn’t the only thing to check. Outdoor cross breezes can push smoke away from the hood, while long ducts and sharp bends reduce the airflow reaching the outlet (indoor hoods aren’t designed to cope with steady wind). Even a powerful fan can struggle when these conditions work against it.
That’s why it’s worth checking the full setup rather than comparing airflow ratings alone. Ask the supplier to match the hood and fan to your grill’s burner output, mounting height, and planned duct route.
Mounting Height Between the Grill and the Hood
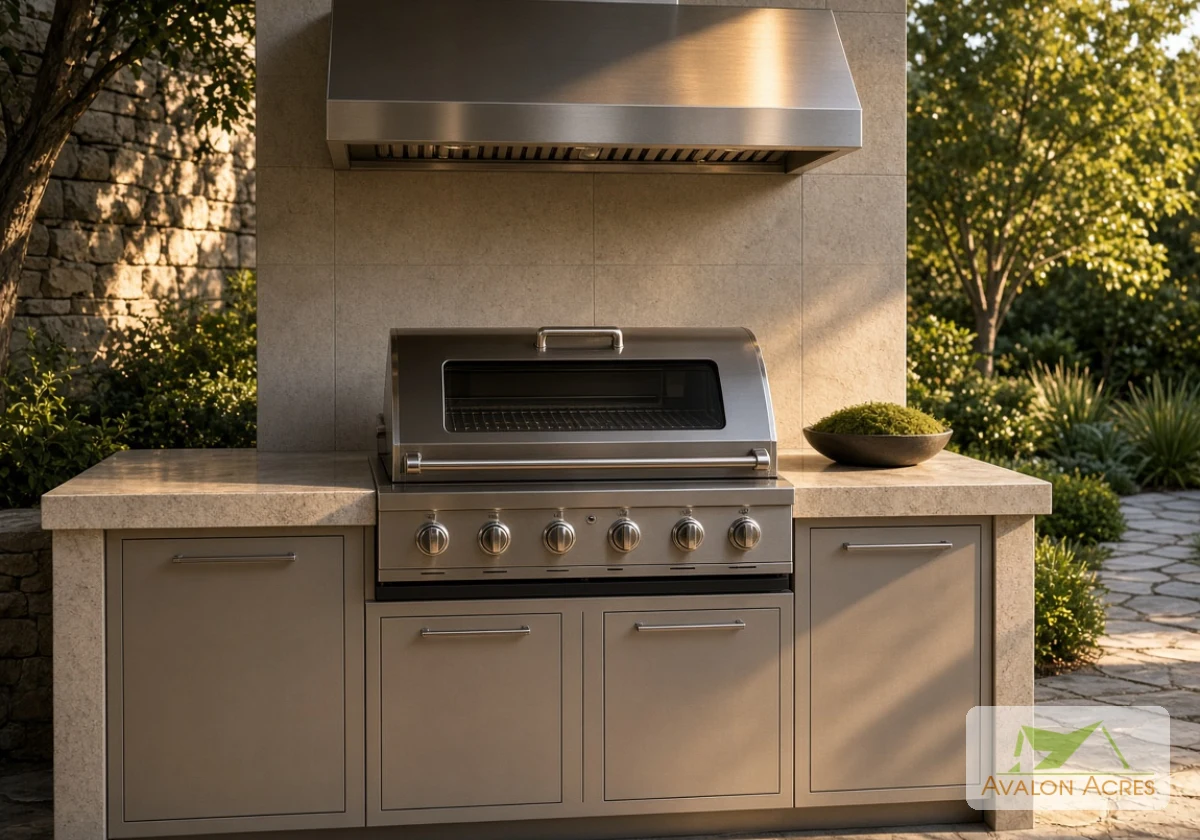
If you hang the hood too high, smoke will spread out before it reaches the filters. Mount it too low, and the heat can damage the fan and make tall cooks duck.
To find the right balance, check the mounting height in your manufacturer’s installation guide. The recommended clearance varies by model, and some warranties depend on following it. Once you’ve confirmed the height, mark it on the wall before framing the ceiling.
And if you’re the tall one in your house, stand under the mark to check your headroom. That way, you’ll know there’s enough space to cook comfortably while keeping the hood at the recommended height.
Stainless Steel Grades and Baffle Filters That Survive Outdoors
Grade 304 stainless steel handles most backyards well. But near the coast, 316 grade holds up better because its added molybdenum improves resistance to salt corrosion. For homes exposed to salty sea air, it’s worth considering the extra cost.
The steel grade is only part of the decision, though. Baffle filters also suit outdoor cooking because their angled metal channels separate grease from the airflow and collect it for cleaning. Over time, that grease builds up, so follow the manufacturer’s cleaning instructions to keep it away from the fan.
Hood-Mounted Versus Inline Exhaust Fans for a Patio Roof
A hood-mounted fan sits inside the hood itself, so it’s simpler to install and service. The trade-off is noise because the motor runs right above the cook’s head.
An inline fan offers a quieter alternative by placing the motor further along the duct, often in an accessible roof space. However, installation is usually more involved, and the fan must suit grease-laden cooking exhaust. If your dining area sits close to the BBQ, consider an inline system. For a tighter budget, a hood-mounted model is often the simpler choice.
Ducting and Installation: Routing Exhaust Out of a Covered Outdoor Kitchen
Whichever fan you pick, the duct decides where all that smoke ends up. The NCC kitchen exhaust provisions require indoor kitchen range hoods to discharge exhaust outdoors. The same principle makes sense under a patio roof, so check your plans with your builder or certifier.
The table below compares the three routes you’ll come across most.
| Route | How it works | What to watch |
|---|---|---|
| Straight up through the roof | A short vertical duct exits through a roof cowl | Seal the flashing well, because roof leaks start at this join |
| Out through a side wall | The duct runs sideways to a wall-mounted outlet | Keep the outlet away from windows and the neighbour’s fence |
| Into the ceiling space | The duct stops inside the roof cavity | Skip this one, since it fails the outdoor air rule and hides grease build-up |
A short duct through the roof is often the best choice if your patio layout allows it. Fewer bends let the fan move air more easily. Once you’ve chosen the route, hire a licensed electrician for the wiring and a qualified installer for the ducting. You’ll also need a licensed gasfitter if your BBQ has a fixed gas connection (your insurer will likely ask who did the work).
Fans, Open Sides and Ceiling Materials Finish the Smoke Control Job
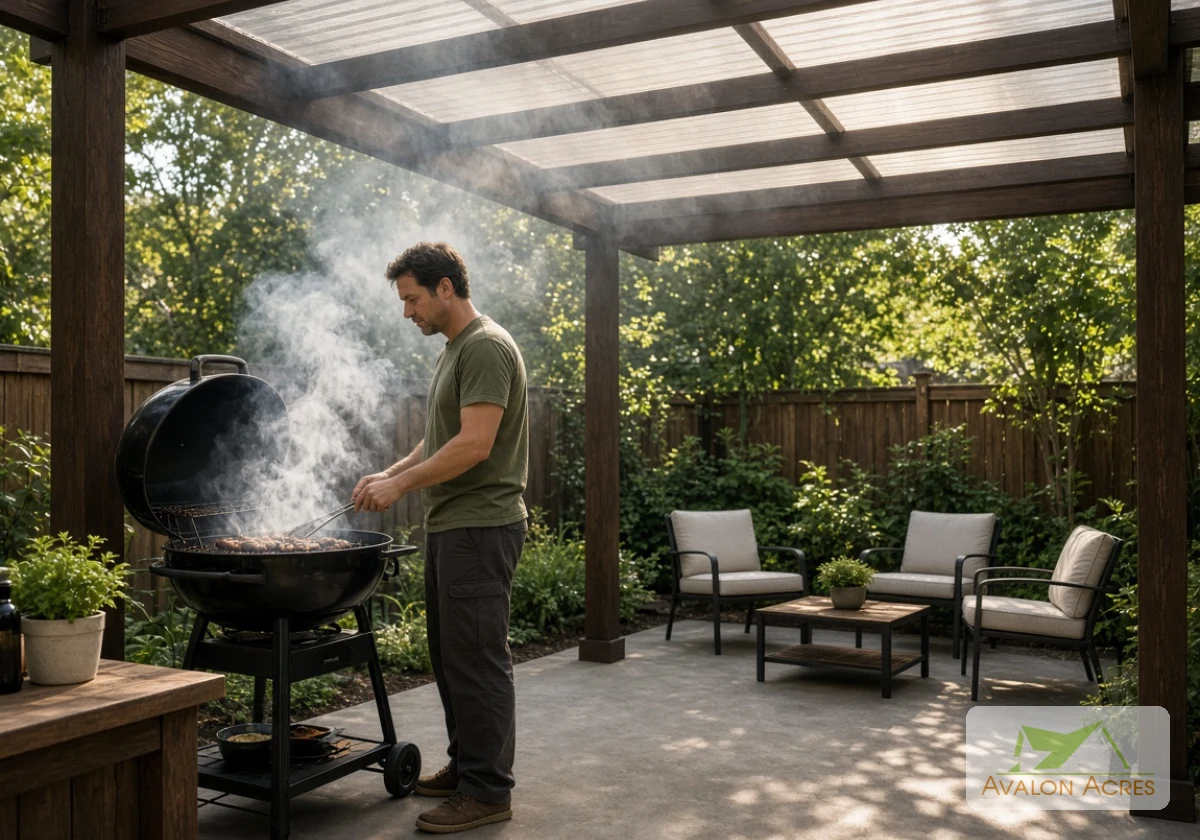
Even a well-ducted hood lets some smoke slip past when you’re searing on a gusty afternoon. The rest of the patio needs enough airflow to clear that leftover haze before it reaches the table.
A ceiling fan can help move lingering smoke, but its position needs some thought. A strong draught across the grill pushes smoke sideways and away from the hood, so keep the fan clear of the cooking zone.
If you’re still finalising the layout, these choices make outdoor kitchen smoke control easier:
Open Side: At least one long side should remain open to encourage natural airflow. Adjustable louvred panels offer some protection from wind while letting you control how much air enters the patio.
Grill Position: The hood needs to sit directly above the cooking area, with clearances that meet the manufacturer’s specifications. A raked ceiling complicates placement because its slope changes the available mounting height.
Wipeable Lining: Sealed fibre cement and powder-coated aluminium suit surfaces exposed to cooking residue. Their finished surfaces make grease easier to remove during routine cleaning.
No Raw Timber: Grease can soak into untreated timber and leave stubborn stains that become harder to remove over time. Heat and smoke also discolour exposed surfaces, so choose a suitable finished material near the BBQ.
Fan Placement: Keep the ceiling fan outside the hood’s capture zone. Check its airflow direction as well, since a strong draught across the grill can push smoke away from the exhaust.
The lining choice is the one to settle first. Lock it in with your builder before the ceiling goes up, because swapping a lining later costs far more than choosing it now.
Plan the Smoke Path Before You Frame the Ceiling
A poorly placed hood or badly routed duct can leave you dealing with smoke long after construction finishes. Correcting these problems later often means removing finished ceiling materials or changing the ductwork, which adds time and expense.
So, review the hood position, duct route, and required clearances with your builder while the plans are still open to changes. It’s also worth checking the manufacturer’s installation instructions before work begins.
Avalon Acres designs and builds outdoor kitchens for homeowners who want to cook under cover. Talk to the Avalon Acres team to plan a ventilation setup that suits your patio and your grill.